![]()
De Ruyter
![]()
| The wrecks of the Dutch cruisers De Ruyter and Java, both lost with heavy loss of life in February 1942, during the tragic Battle of the Java sea were first discovered in December 2002, and revisited in May of the following year. During these dives, photos were taken which were are proud to present to you at this time. We would like to thank Mr. Kevin Denlay from Australia for sharing these with us. Please note that this material is protected by copyright, and further use is strictly prohibited. The webmaster has been given explicit permission by the photographer, Mr. Denlay, to use these for the website. The other photos are from other personal collections. |
|
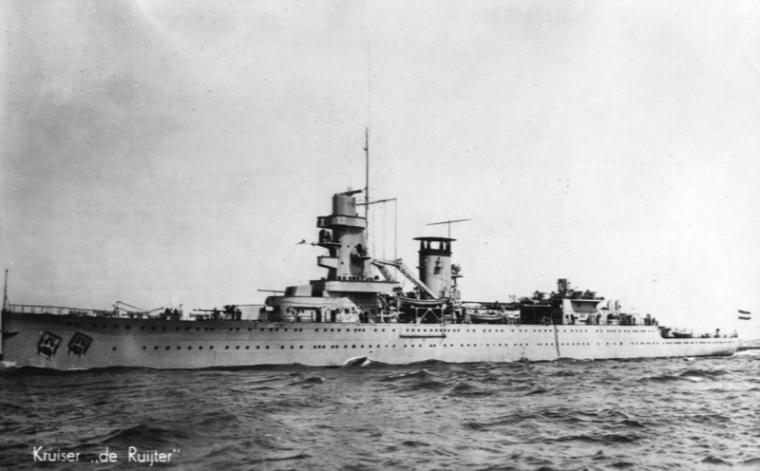 |
De Ruyter during trials. The funnel top was altered after it proved to be unsatisfactory (Collection webmaster) |
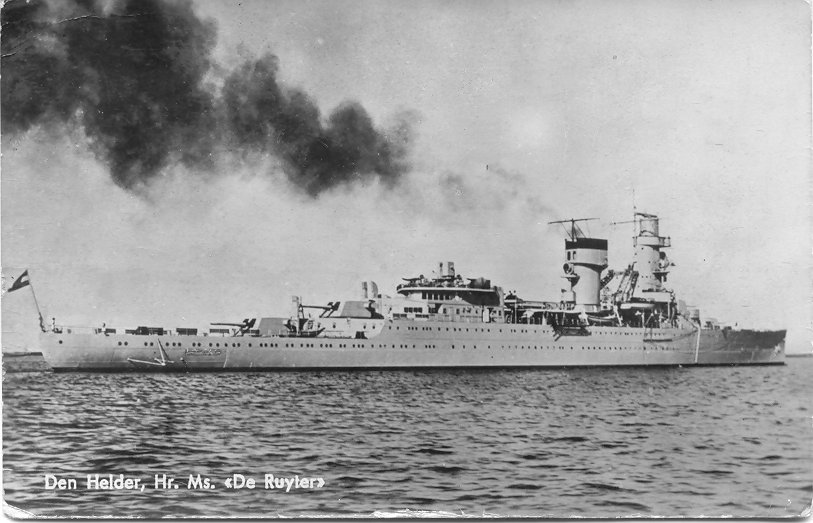 |
Aft storboard side view of De Ruyter at Den Helder, Holland (Collection J. Klootwijk) |
 |
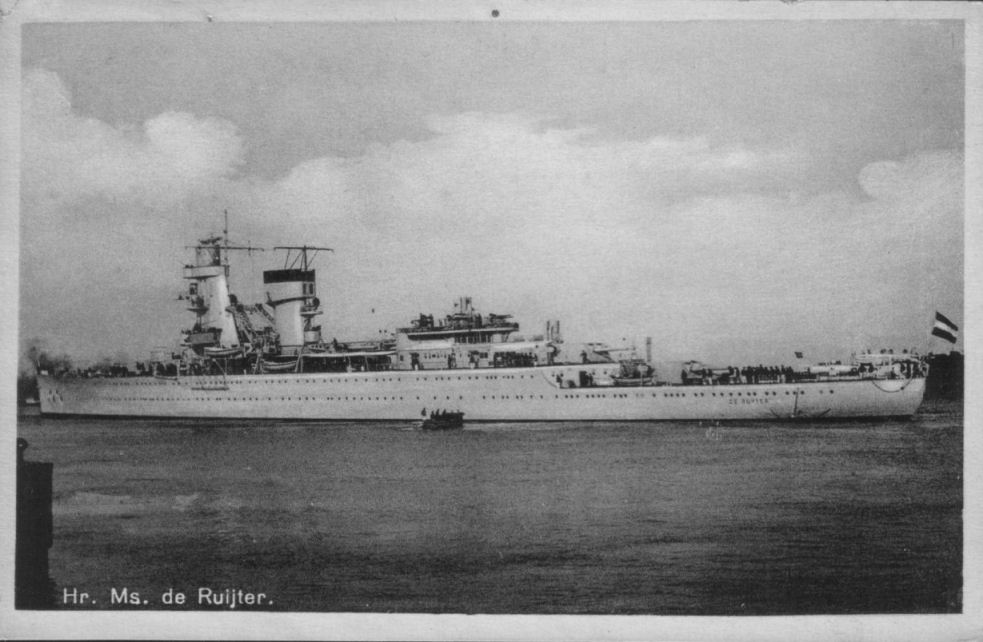
View of De Ruyter's starboard quarter (Collection O. van Hoften) |
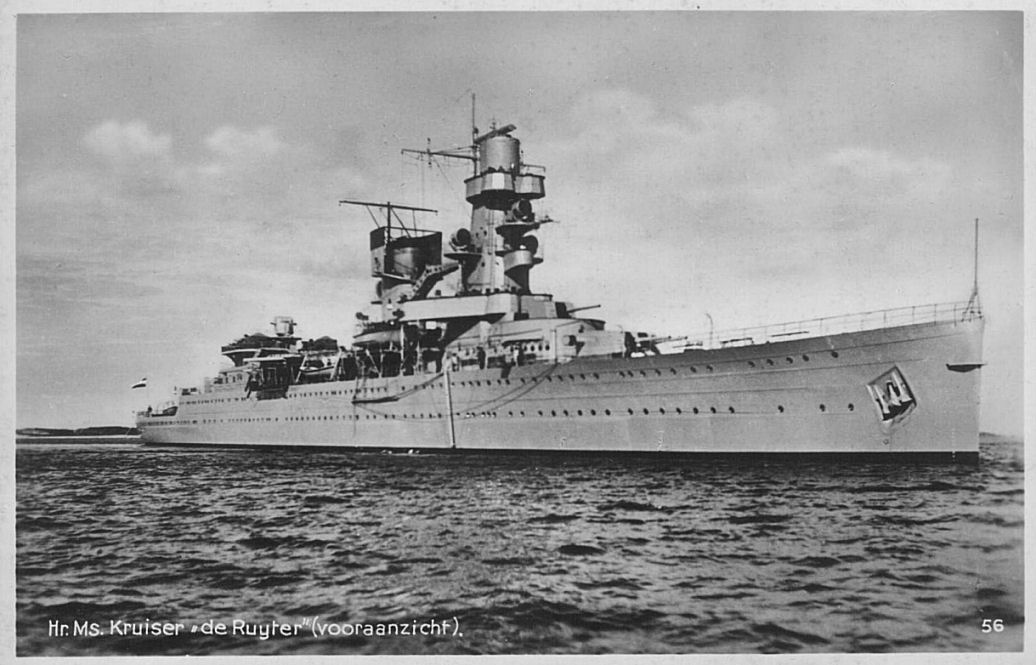 |
Interesting bow view of De Ruyter during peacetime. (Collection O. van Hoften) |
 |
View of De Ruyter's port quarter (Collection O. van Hoften) |
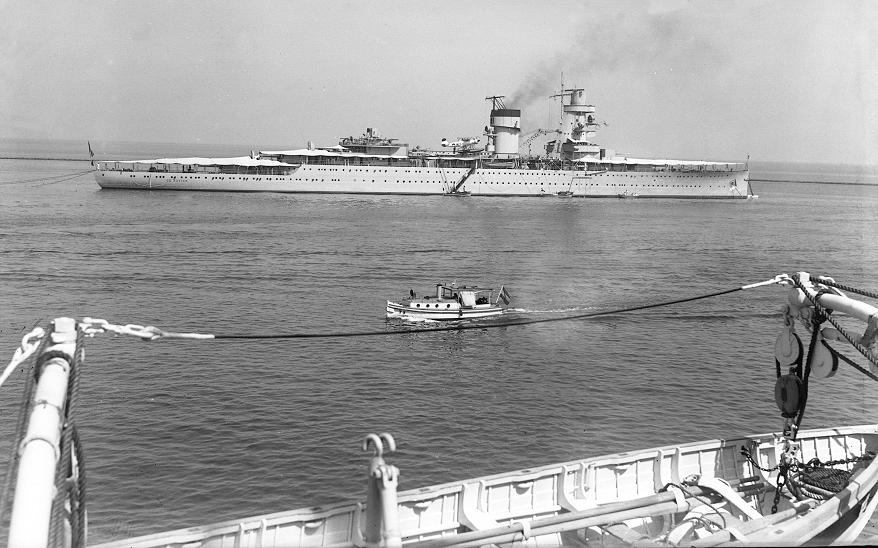 |
De Ruyter at anchor, presumably in the Netherlands East Indies. (Collection Saxon Fogarty, via Kevin Locke) |
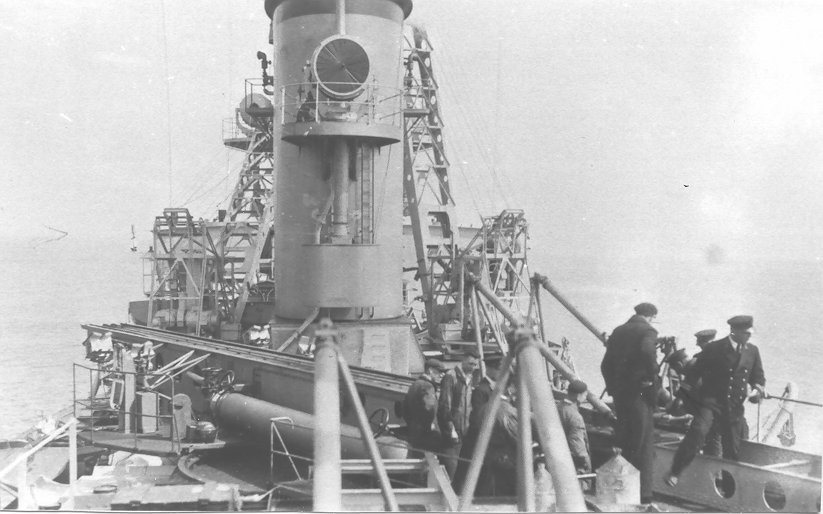 |
Close-up of De Ruyter's Heinkel K.8 catapult (Collection J. Klootwijk) |
 |
De Ruyter launching the type Fokker C-11W floatplane with registration W.4 in 1938 (Collection J. Klootwijk) |
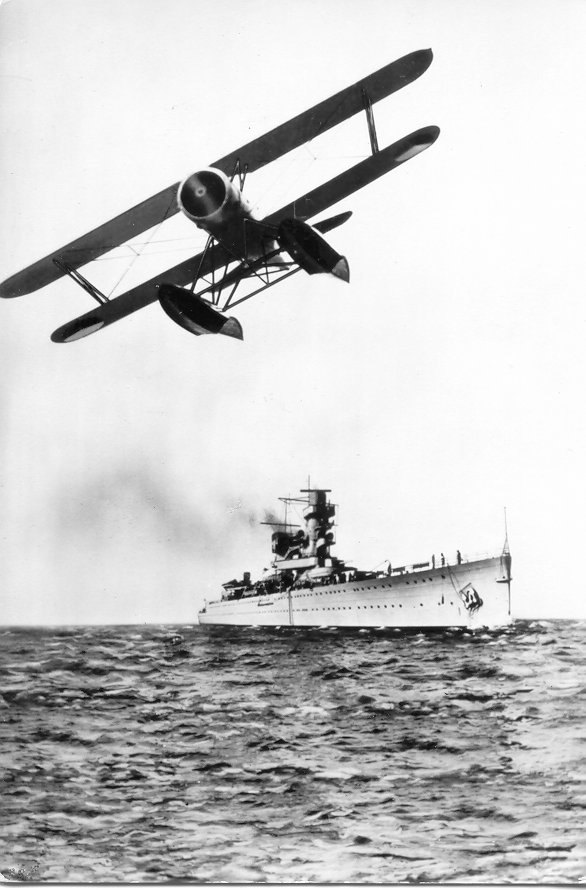 |
Floatplane passing by with De Ruyter in the distance. (Collection J. Klootwijk) |
 |
Floatplane W.1 being lifted from the water (Collection J. Klootwijk) |
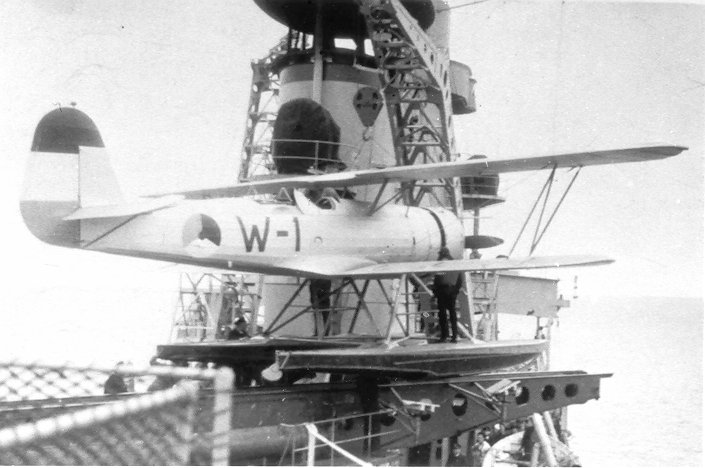 |
W.1 on the catapult (Collection J. Klootwijk) |
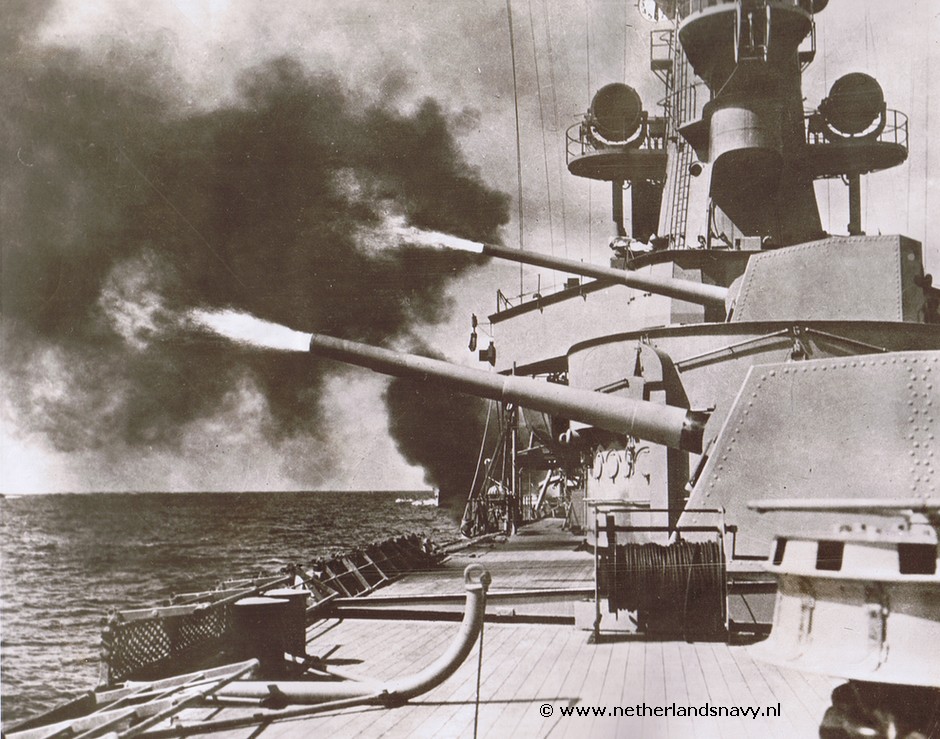 |
De Ruyter firing her guns during an exercise. A destroyer of the Admiralen-class is visible in the left background. (Associated Press photo, collection webmaster). |
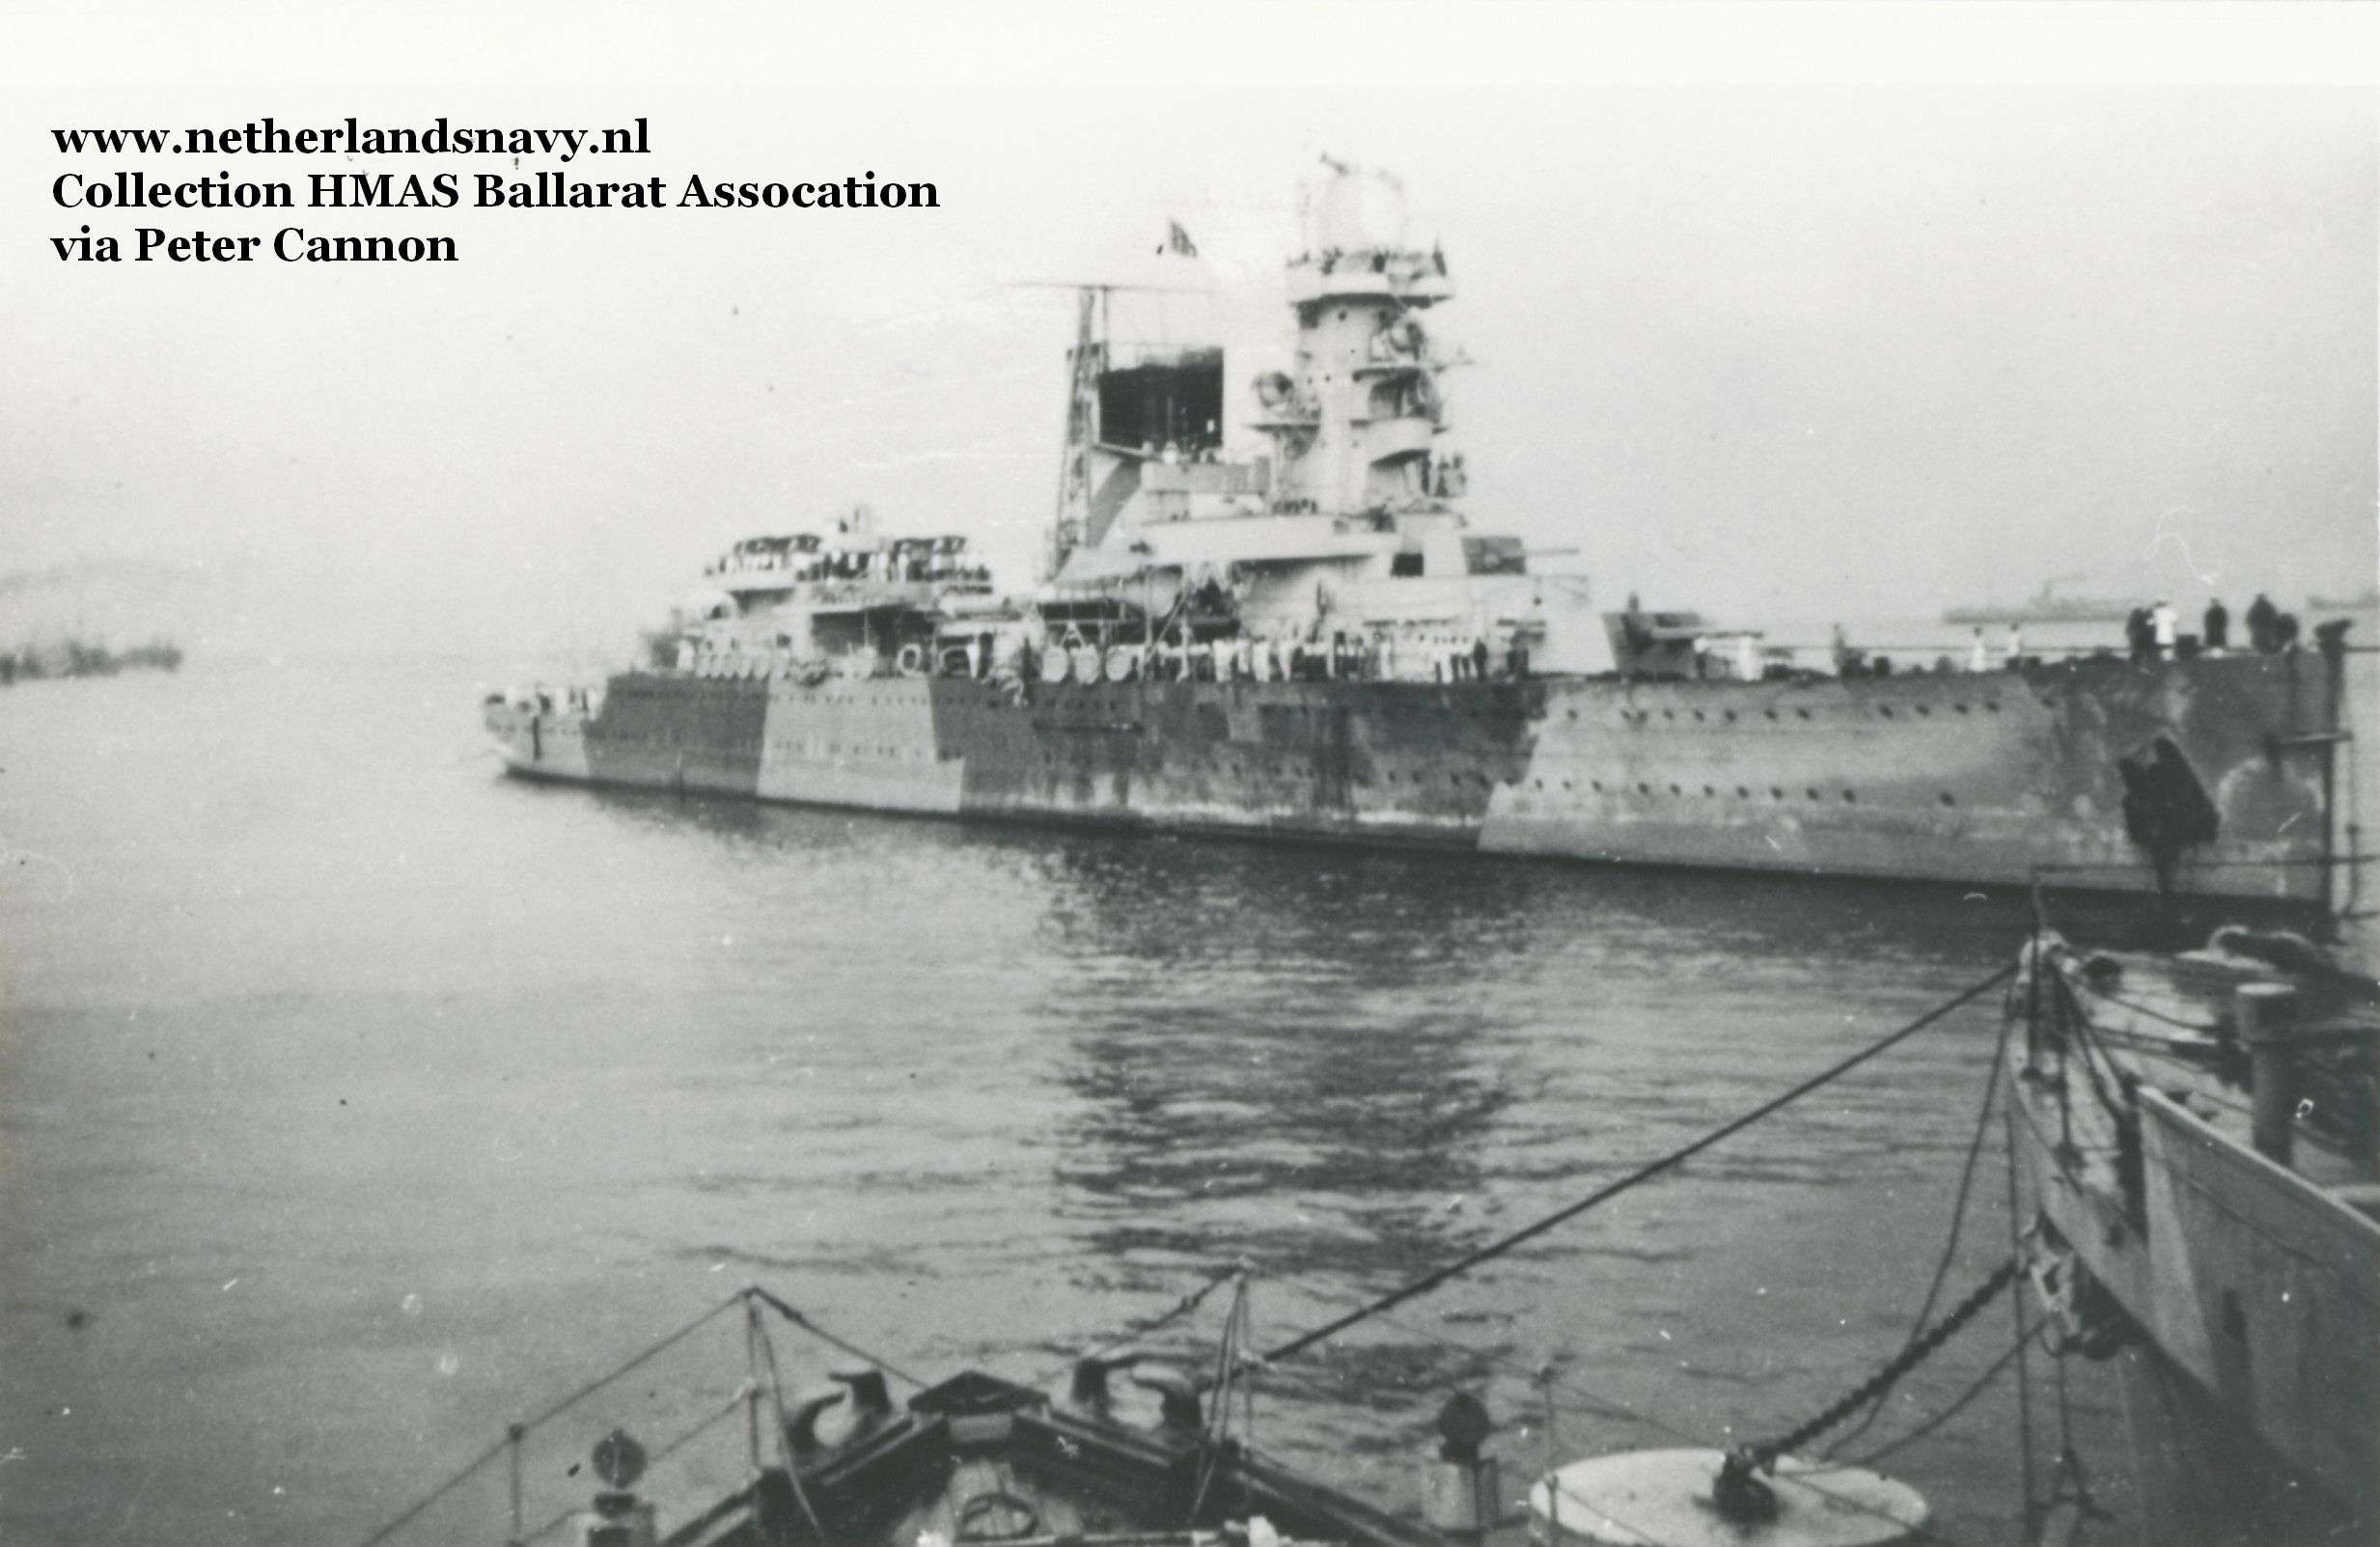 |
 De Ruyter in her camouflage scheme, most likely in January of February 1942. The photo was taken from the Australian minesweeper HMAS Ballarat. (Collection HMAS Ballarat Assocation, via Peter Cannon). De Ruyter in her camouflage scheme, most likely in January of February 1942. The photo was taken from the Australian minesweeper HMAS Ballarat. (Collection HMAS Ballarat Assocation, via Peter Cannon). |
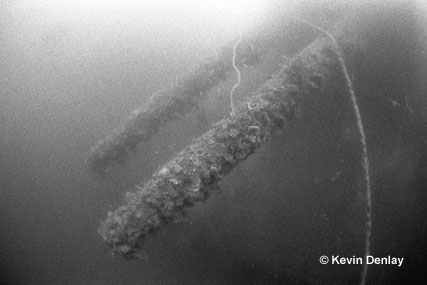 |
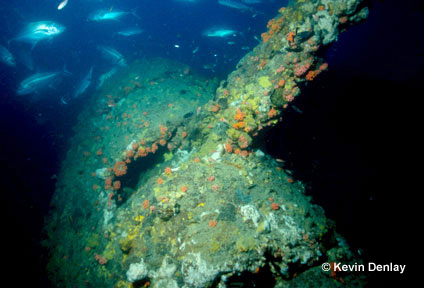
The barnacle encrusted barrels of the forward dual 15cm turret now point towards the seabed, or what would have been to starboard when De Ruyter sank |
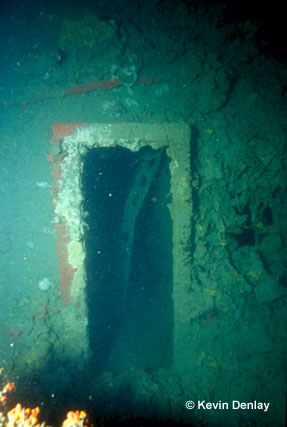 |
The doorway on the port navigation bridge deck leads into the superstructure and navigation bridge where the helm stand and telegraphs can be seen |
 |
Looking through the doorway of the navigation bridge one sees in the foreground De Ruyters helm stand, the wooden wheel having long ago rotted away, while the helm pointer (at top) clearly shows that the ship was still turning to starboard when hit by the torpedo that sank her. In the background can be seen the dual telegraph controls. |
 |
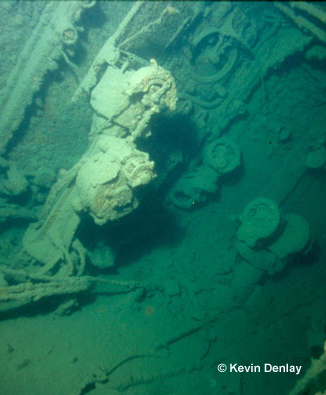
This so-called 'targeting device' is located at the outer rear corner on the port navigation bridge deck wing, inside its own enclosure. |
 |
This photo is taken from off the outer rear corner of De Ruyters port navigation bridge deck wing, looking in and forward towards the superstructure. In the foreground is the top of the targeting device seen in the previous photo, part of the doorway to the navigating bridge can just be seen in the background centre left, and the base of the port searchlight stand, attached to the side of the superstructure, can be seen upper left. |
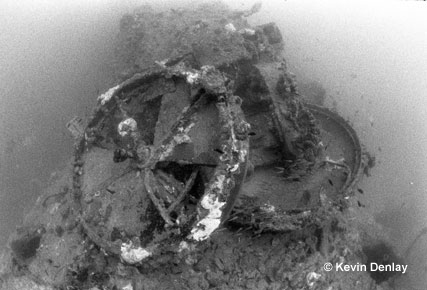 |
The remains of De Ruyters 120cm port searchlight collapsed atop the 'stand' that can be seen in the previous photo |
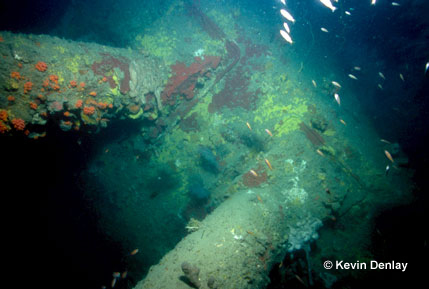 |
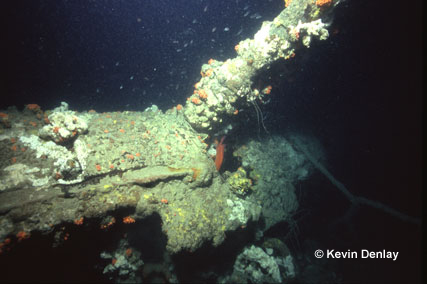
Looking along the barrels and in at the face of one of the rear 15cm turrets. Both rear turrets on De Ruyter point almost directly astern. The angle the ship now rests at can be clearly envisaged from this photo. |
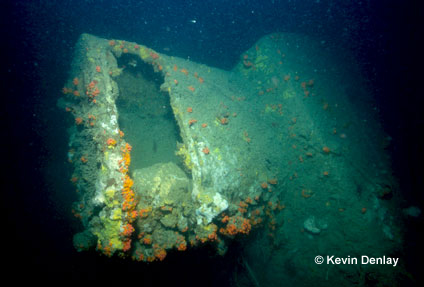 |
A close up of the enclosure and aperture opening for a main turret range finding device. These contained an optical device and were attached on either side at the rear on the three main 15cm turrets on De Ruyter to aid in target acquisition. The main body of the turret is in the background. |
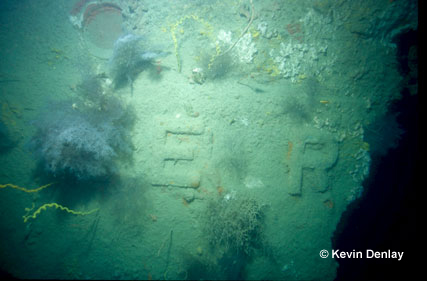 |
While the letter D is hidden by a small coral bush on left, the letters E and R of De Ruyters name, as seen in historical photos on her stern, are clearly visible. A large gash or split runs down De Ruyters port hull just to the right of the letter R. |
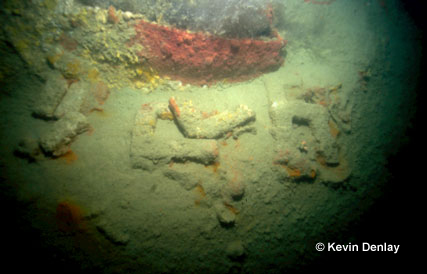 |
Slightly further aft, just on the other side of the split that runs down the port side hull, the remaining letters of De Ruyters name lay jumbled, apparently dislodged as a result of the shock from the torpedo hit that sank her. |
 |
Looking down onto the face shield on one of De Ruyters five aft twin Bofors guns, the coral encrusted barrels pointing out to the right. Almost no historical photo shows these protective shields in place on De Ruyter and when underwater photos of these shields were first seen they caused somewhat of a controversy as many people were completely unaware that De Ruyters Bofors were actually shielded. |
 |
Looking from a lower angle at the face shields on De Ruyters Bofors guns. This one is taken looking at the face from below and to the left. The twin barrels point out to upper right. |
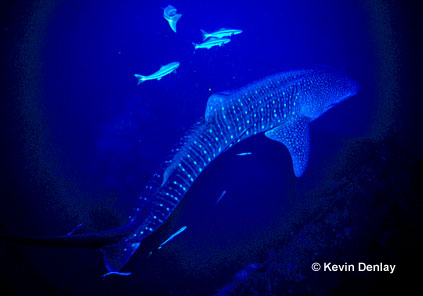 |
Large whale sharks, harmless plankton feeders up to 5m or 6m long, are often encountered when diving on both De Ruyter and Java. |
![]()
| Back | Home |